Showing posts with label DIY. Show all posts

Dear readers, thanks for dropping by. Kindly note that I have migrated all these posts to my new blog All Things Cozy and Homely . I will blog at the new site from Jan 15 onwards.

Sunday, June 14, 2015

Awesome Cloud Light Decoration With Cotton And LED Lights!


Tiffy Quake shows how to make a cloud light that glows and “rains” and looks fun hung from a ceiling or backyard. You’ll need paper lanterns, LED curtain lights, clear string, a wooden dowel, a glue gun and lots of cotton batting and a friend to help you hang it!


Related Posts Plugin for WordPress, Blogger...

Dear readers, thanks for dropping by. Kindly note that I have migrated all these posts to my new blog All Things Cozy and Homely . I will blog at the new site from Jan 15 onwards.

Thursday, June 11, 2015

An amazingly easy but effective DIY to keep lizards out of your household shelter!


Do you abhor Lizards? If you do and wishes to keep them out of your Household Shelter, this DIY post is right for you! :)


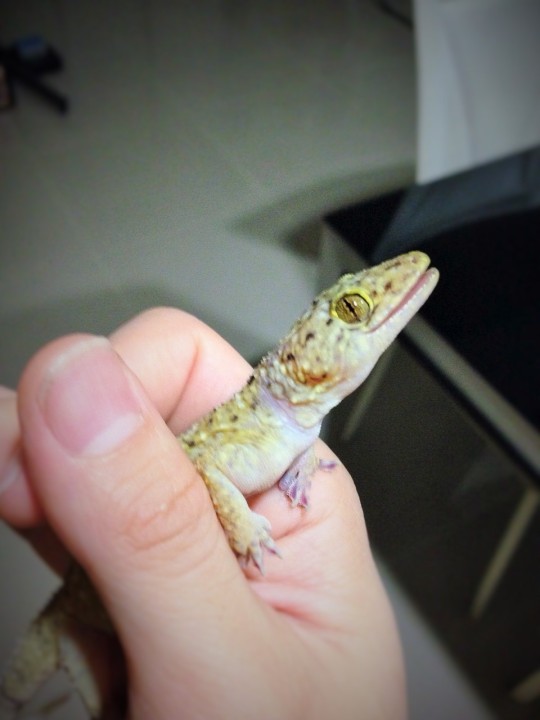
" Like 99.9 percent of Singapore household, I have a love hate relationship with these nocturnal, cold blooded reptiles. 


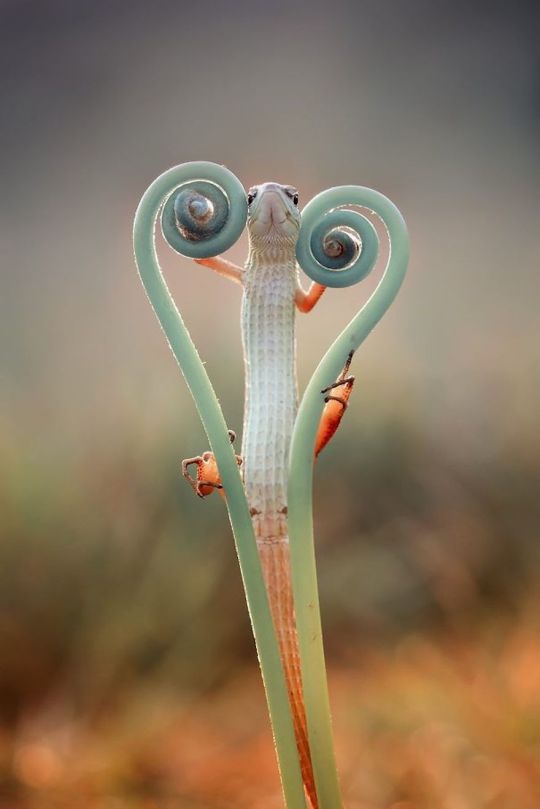
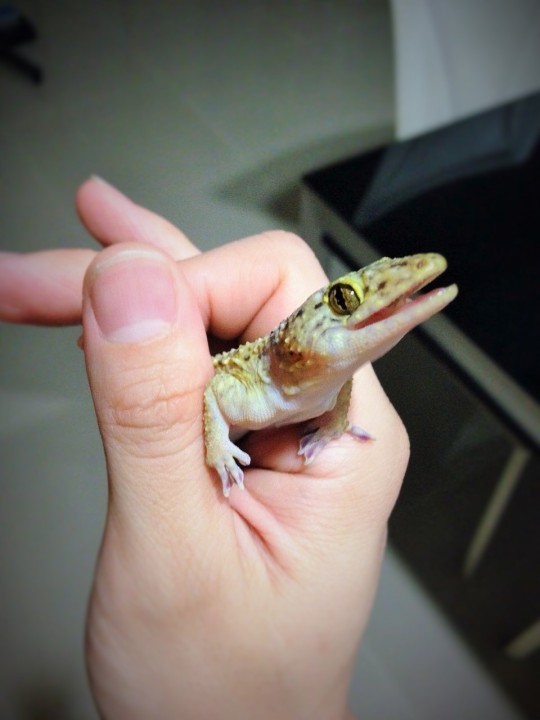
My resident lizards have this creepy habit of  staring at me with their reptilian unblinking eyes as they hang motionlessly on ceilings and walls. As if to keep me under their tight surveillance, their tiny heads will follow every step I take while I pace around the house. 

Image from nature-brains

Image from earthporm

Geez! What are you staring at?!

Actually being watched isn't that bad, the really annoying part is when I unconsciously move too close to them while performing the household chores. You see, the younger ones would sometimes lose their footing and fall either onto me or onto the floor with an audible 'piak' when they try to scramble frantically out of my way.

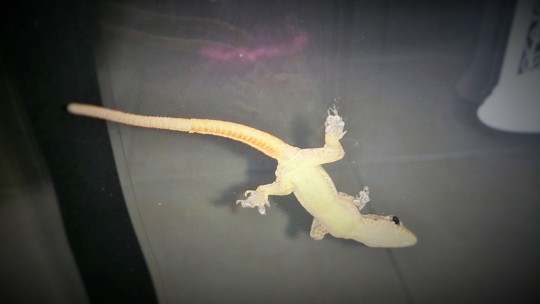
Furthermore, the insolent ones sometimes would sunbath, in their naked glory, on my windows.

Yes you heard me right.

Sunbathing lizards.


Image from earthporm

Unbelievable?

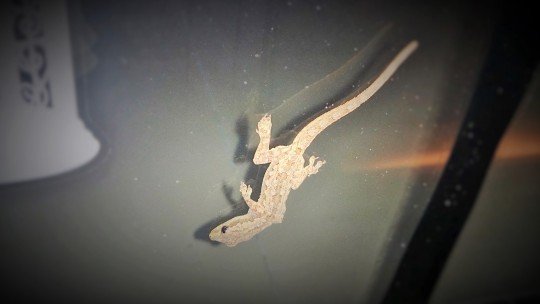
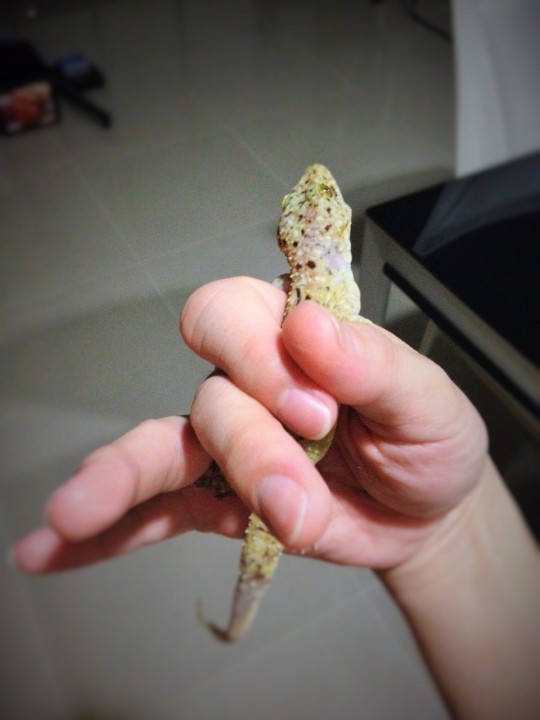
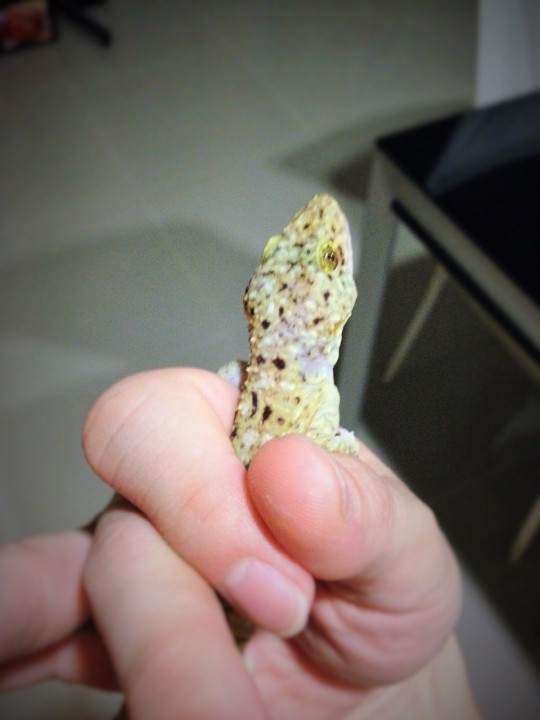
Picture this, a pink rubbery looking black eyed fella parks cozily on the window glass panel, its internal organs clearly visible underneath its translucent skin! Gosh! Doesn't it have some decency to keep out of my sight?!

Honestly, these irritating habits do not drive me up the wall - yet. It is actually the waste that they leave behind that make me go bananas! In fact, these common house geckos have absolutely no toilet manners and make huge sticky messes whenever they take a dump...

Ya..ya...I admit that the logical part of me is relieved that these resident creatures are at least working hard; more droppings means more household pests such as flies, insects and spiders have been eliminated.

Nonetheless, imagine the absolute horror .......

Image from sciencebuzz

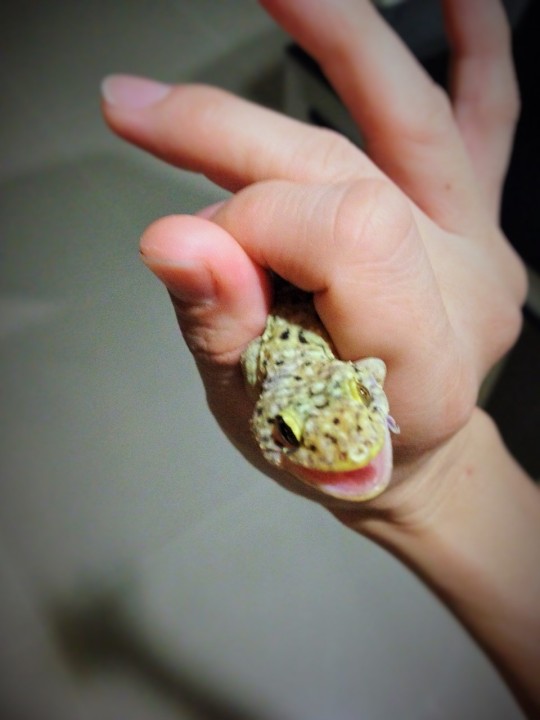
When I discovered that they have been coming in and out of my household shelter freely


Gotcha!
What on earth have you been doing in my household shelter?!

On hindsight, this is hardly surprising since the household shelter is cool, dark and has many hard to reach places - certainly a perfect hideout!

To keep out these four legged nuisances, we decided that the ventilation holes have to be covered up. However, since the HDB household shelters are especially constructed to serve also as a civil defense shelter in times of emergency, we have to be mindful not to make unauthorized modifications, alterations or tampering with any part of the ventilation openings, plates, and mounting devices such as bolts and nuts...because we might need it!


The idea is simple, to erect a removable perforated cover over the household shelter ventilation openings. In fact, this we got this idea from the failed DIY privacy screens for the door grille; the leftovers plastic perforated sheets are simply perfect for this project! ;) "

Read this post for the Step by Step blog post on how to do it! :)

Related Posts Plugin for WordPress, Blogger...

Dear readers, thanks for dropping by. Kindly note that I have migrated all these posts to my new blog All Things Cozy and Homely . I will blog at the new site from Jan 15 onwards.

Friday, April 10, 2015

5 Things You Can Fix With Everyday Stuff

5 Things You Can Fix With Everyday Stuff

Mr Diva once told me that Singaporeans embrace the "outsource" culture very well; they will pay any amount to get things done as long as they do not get their hands dirty (aka DIY) when getting things fixed. After having lived in America for a period of time, he realized that most Americans do *almost* everything themselves, and some even renovate or build their own house! 

Having grown up in a humble household, I still remember very vividly how my Dad and brother go around fixing things around the house. I know, this is very un-Singaporean but such skills are bore out of necessity. Well, Mr Diva fared slightly better in this department since he has spent a fare amount of time overseas in Ang Mo land on his own.  

Nonetheless, I hope those homeowners who are aspiring to DIY, the following tips should be useful to get you started. Enjoy!


An infographic by the team at MrHandyman.com


Related Posts Plugin for WordPress, Blogger...

Dear readers, thanks for dropping by. Kindly note that I have migrated all these posts to my new blog All Things Cozy and Homely . I will blog at the new site from Jan 15 onwards.

Tuesday, November 11, 2014

Stikwood


Are you looking for ways to inject natural wood in home interiors in the simplest and easiest way? 

By a stroke of luck, I stumbled upon Stikwood; which retails authentic real natural reclaimed wood for modern wood wall décor,. and its the worlds first peel & stick solid wood planking which comes in a variety of finishing from contemporary to rustic!


With Stikwood, it makes room transformation to an artisanal bespoke work of art with reclaimed wood. Stickwood products are supposedly VOC free. Hence, its safe, environmental friendly and comes in a variety of different design.


Prices range from $8 – $12.50 per square foot and best part; it is shipped directly to Singapore from US!

Here are some of my favorite inspiring photos from tumblr.

Stikwood on ceiling in Block Butcher Bar. Sacramento, CA


With so many possible DIY applications and a fairly reasonable price, I cant wait to get my hands on them to try out for my next home renovation project. :)

Related Posts Plugin for WordPress, Blogger...

Dear readers, thanks for dropping by. Kindly note that I have migrated all these posts to my new blog All Things Cozy and Homely . I will blog at the new site from Jan 15 onwards.

Sunday, September 29, 2013

Simple Human - Wall Mount Grocery Bag Dispenser


I have been looking around for a grocery bag dispenser that looks deliciously good, and is both sturdy and lasting. Finally, I decided on the Wall Mount Grocery Bag Dispenser from simplehuman since it seem to fit these  criteria. 


The Product
The Wall Mount Grocery Bag Dispenser arrived in a thick cardboard box and is bubble wrapped. Once out of the bubble wrap, the dispenser feels heavy, solid and it is evident that the product is designed with a premium finish in mind.


Product Installation
The installation process is very straight forward since you can opt to mount it using the screws provided or with the thick double sided pre-mounted masking tapes. As we are using it on one of our cabinet doors, we skipped the screws as they will protrude out from the other side of the cabinet door when used. However, Mr Diva decided to add on more double sided masking tapes to make it more secure. 


Usage
It is really tempting to just stuff the plastic grocery bags right after the installation is complete. In fact, Mr Diva is sooo carried away and the outcome looks....really messy.  -_-""

Hence I decided to step in and do something about it.


These bags have to be neatly folded before they are stuffed inside the bag dispenser. In case you are wondering how this can be achieve, the step by step technique is detailed above.


Aside from being neat, the advantage of having the grocery bags folded into little adorable triangles is that you are able to gauge the size of the bag more accurately! :)


Although the specifications state that the dispenser can accommodate up to 30-40 grocery bags, I was able to achieve 50% more room with this simple technique! See?!


My Verdict
This is yet another winning product from simplehuman. Not only does the Wall Mount Grocery Bag Dispenser looks sleek and good, it functions pretty well too without burning a big hole in your pocket.

Not convinced? Just take a look at the positive reviews from the other customers.


Related Posts Plugin for WordPress, Blogger...

Dear readers, thanks for dropping by. Kindly note that I have migrated all these posts to my new blog All Things Cozy and Homely . I will blog at the new site from Jan 15 onwards.

Friday, October 26, 2012

D.I.Y Halloween Ideas


Halloween is just around the corner! If you intend to throw a home party to celebrate, here are some cool D.I.Y ideas for your home interior design!

-->

Related Posts Plugin for WordPress, Blogger...

Dear readers, thanks for dropping by. Kindly note that I have migrated all these posts to my new blog All Things Cozy and Homely . I will blog at the new site from Jan 15 onwards.

Sunday, September 2, 2012

IkeaHackers


IKEAHackers - Clever ideas to modify your IKEA

IKEAHACKERS


Ikea Hackers is one of my favourite hangouts. It is very interesting to see many inspiring and creative ways people try to "mod" Ikea products.
-->

Related Posts Plugin for WordPress, Blogger...

Dear readers, thanks for dropping by. Kindly note that I have migrated all these posts to my new blog All Things Cozy and Homely . I will blog at the new site from Jan 15 onwards.

Friday, July 6, 2012

Interior Design Inspiration I - designsponge.com

design sponge

Image copyrighted to http://mylifescoop.com/

Aside from SquareRooms, Home and Decor and Urban Cube magazines, where do you find inspirations for your home make-over?

For me, I like to check out condominium show flats and not forgetting, interior design-related websites for the latest trends or some quirky ideas to spruce up my home.

In fact, what I really adore about interior design-related websites is that they are always updated, no boring cutter-cookie designs and the best part? These sites are entirely absolutely F R E E ! :)

In addition, no hopping from book-stores to book-store just to purchase an interior design-related magazine, no waiting for the next magazine issue and so on..

So today, I am going to share with you one of my favorite site: designsponge.com

-->

Related Posts Plugin for WordPress, Blogger...

Dear readers, thanks for dropping by. Kindly note that I have migrated all these posts to my new blog All Things Cozy and Homely . I will blog at the new site from Jan 15 onwards.

Sunday, December 18, 2011

living@HOME

 
Home-fix just launched their first issue of living@HOME. In case some of you are new to Home-fix, it is the leading D.I.Y retail chain in Singapore.

At only $1, living@HOME is definitely worth a read. The first issue covers articles ranging from useful  household appliances like vacuum cleaners, useful advices on how to make small spaces look bigger, and even teaches you how to overhaul your old furniture.
If you have yet to grab a copy, fret not. I will share some useful articles from that issue in my subsequent posts.

Related Posts Plugin for WordPress, Blogger...

Dear readers, thanks for dropping by. Kindly note that I have migrated all these posts to my new blog All Things Cozy and Homely . I will blog at the new site from Jan 15 onwards.

Thursday, July 28, 2011

Creating Floating Book Shelves


Some of you might wonder how to DIY your very own floating book shelves. Fret not! Here are URLs where you can find the easy to follow step by step instructions. All pictures credited to the owners.

-->

Related Posts Plugin for WordPress, Blogger...

Dear readers, thanks for dropping by. Kindly note that I have migrated all these posts to my new blog All Things Cozy and Homely . I will blog at the new site from Jan 15 onwards.

Monday, July 18, 2011

All about Grout


Summarized from Wikihow:


Steps:
   1. Vacuum and remove all stray debris from the floor.

   2. Spray a non-toxic acid on all the tiles and grout (I assume to remove the stains).
  
   3. Scrub the grout and tile floor with a brush .
  
   4. Vacuum the floor again a wet/dry vacuum, then towel dry.

   5. Apply Color Grout Sealer (I will cover this more in detail in the later part of the post) to grout with brush applicator.
  
   6. Wipe excess color sealer off tile with damp chamois (or any type of porous leather which is non-abrasive but have exceptional absorption properties) and continue with each grout line in one direction.
  
   7. After sealer dries in about 20 minutes, buff the floor by spraying windex (or any glass and hard-surface cleaner) on floor and wiping mist off with towel.


So what is a Color Grout Sealer?

It  is a water-based sealer-stain that seals coats, colors and protects all cement-based grout joints and can be used on floor tiles and even backsplashes.

It can be used to enhance an existing grout color or change discolored or stained  grout and is available commercially in a wide range of  colors. Here is an amazing list of grout color chart which you can refer to.

In fact, you should discuss with your Contractor/ID on the matching grout color which will enhance and compliment the tiles which you have chosen. :)

Related Posts Plugin for WordPress, Blogger...

Dear readers, thanks for dropping by. Kindly note that I have migrated all these posts to my new blog All Things Cozy and Homely . I will blog at the new site from Jan 15 onwards.

Monday, May 16, 2011

Drawer Organiser


How to organize a messy drawer?


1)  Customize
You can get your contractor or ID to plan and build customized "tou-fu cubes" or drawer dividers for your drawers. It is definably a more elegant option but is much more expensive. I did mine with a see-through-glass on top and the effect is awesome; so much so that subsequent clients of my ID asked for the exact same design.

2) Purchase ready made drawer dividers
Ikea sells very affordable drawer dividers. Besides Ikea, you can also find the following drawer organizers  as suggested by apartmenttherapy.com (prices in USD).

Extendables Drawer Organizers from Neatnix, $12
Bamboo Drawer Organizers from the Container Store, $9.99 - $24.99
Tweed Drawer Organizers from the Container Store, $14.99 - $19.99
Komplement Boxes and Baskets from IKEA, starting at $5
Drawer Organizer Combo from Bed, Bath, & Beyond, $9.99
Diamond Drawer Organizer from Bed, Bath, & Beyond, $7.99
Wicker/Willow Basket Set from The Storage Store, $30
Cedar Sweater Box from Amazon, $17.99
Interlocking Deep Drawer Organizers from Space Savers, $1.79 - $2.99
Instructions for Making Your Own Drawer Dividers from Martha Stewart


However, if you only want to organize small items like belts, scarves, ties and so on, honeycomb drawer divider is also an excellent alternative too.


3) DIY
If you do not mind spending sometime to DIY the drawer dividers, this is a very good step by step instruction on how you can make one yourself! You can get all your materials from Art Friend. :)


Related Posts Plugin for WordPress, Blogger...

Dear readers, thanks for dropping by. Kindly note that I have migrated all these posts to my new blog All Things Cozy and Homely . I will blog at the new site from Jan 15 onwards.

Tuesday, April 12, 2011

IKEA Hackers


How many of you are fans of Ikea?

Yet how many of you are DIY lovers who love to "hack" Ikea products?

I am a DIY lover; having personally designed our very own posters, customized our unique crystal hanging dining lights and of course, acrylic drawings too.


In fact, Ikea is an extremely good source of cheap and configurable furnishing to "hack"..or rather work with. And there are endless ideas what we can do with their furniture. Best part is that they are very reasonably priced!!

Some of my favorites:


Keep those creative juices flowing! Feel free to submit your IKEA hacks and be showcased in my reno blog! :)
Happy HACKING!

Related Posts Plugin for WordPress, Blogger...

Dear readers, thanks for dropping by. Kindly note that I have migrated all these posts to my new blog All Things Cozy and Homely . I will blog at the new site from Jan 15 onwards.

Saturday, March 19, 2011

Let's talk about Storage ..


Storage is the most important aspect in any renovation but unfortunately is also the most neglected area.

Usually, cupboards and shelves makeup the bulk of our storage solutions but don't forget, there are also many other invaluable storage options to consider as well: Stacking boxes, hooks and also furniture (i.e. storage bed and coffee-tables) that can double up as storage to maximize your storage needs.

Thus, a very critical aspect of your strategy is to determine how frequently you use a particular item; if it is used several times a day it should be stored in a easy to reach and recognizable location. For things that are used once or twice a year, they can be stored in tall shelves and harder to reach areas. However, you should also take note that heavy items should be stored in places where you can lift them up easily without straining your back. In addition, items should be stored in logical areas (i.e. Cutlery should be stored in kitchen and not in study room).
-->

Related Posts Plugin for WordPress, Blogger...